Quick Video #
This guide walks you through how to connect WPForms with HubSpot using the Ultra Addons for WPForms plugin. With this integration, you can automatically send form submissions from your website directly to your HubSpot CRM—helping you capture, manage, and organize leads without manual effort.
By the end of this guide, you will be able to:
- Connect your HubSpot account with WPForms
- Automatically create or update contacts from form submissions
- Map form fields to HubSpot properties
- Test and verify data inside your HubSpot account
The HubSpot integration follows a simple automated flow:
1. A user submits a form on your website built with WPForms
2. The submitted data is securely sent to HubSpot via API
3. A new contact is created or an existing contact is updated in HubSpot
4. The data becomes instantly available in your HubSpot CRM
Use Cases #
This integration is useful for:
– Lead generation forms
– Contact forms
– Newsletter signups
– Customer inquiries
– Any form where you want to store user data in HubSpot
Requirements #
Before getting started, make sure you have:
- WordPress installed and running
- WPForms (Lite or Pro) installed and activated
- Ultra Addons for WPForms plugin installed and activated
- An active HubSpot account
Installation #
- Log in to your WordPress dashboard.
- Navigate to Plugins → Add New.
- Upload and install the Ultra Addons for WPForms plugin.
- Activate the plugin.
- Ensure WPForms is installed and activated.
Connecting HubSpot with WPForms #
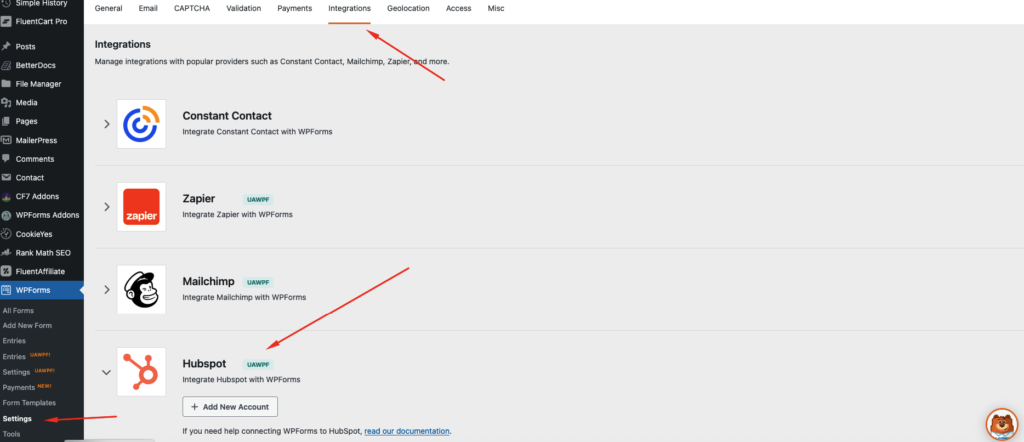
Step 1: Access HubSpot Integration Settings #
- Go to WPForms → Settings → Integrations.
- Find HubSpot Integration.
- Click Connect.
Step 2: Authorize HubSpot #
- Log in to your HubSpot account when prompted.
- Grant the required permissions.
- Once connected, your HubSpot account will appear as Connected.
Setting Up HubSpot Integration in a Form #
Step 1: Enable HubSpot Integration #
- Go to WPForms → All Forms.
- Edit an existing form or create a new one.
- Navigate to Marketing → HubSpot.
- Click Add New Connection.
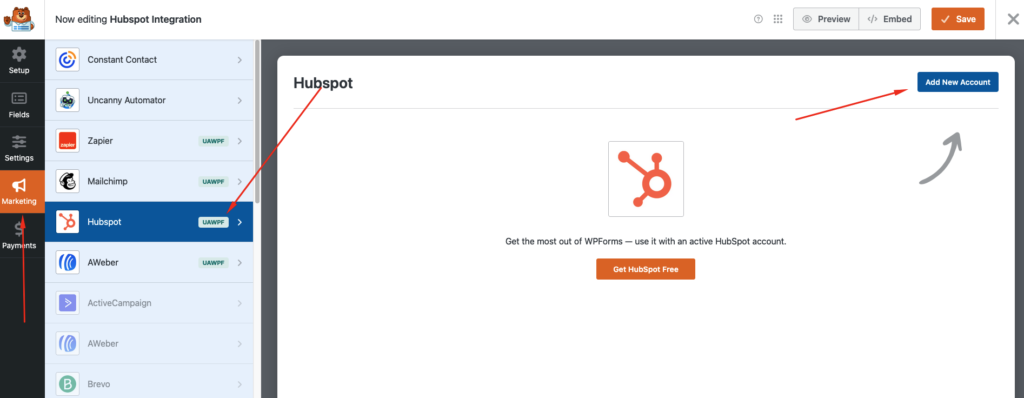
Step 2: Configure Connection Settings #
- Connection Name
Give your connection a recognizable name. - Select HubSpot Account
Choose the connected HubSpot account. - Action
- Create New Contact
- Update Existing Contact
Step 3: Field Mapping #
Map WPForms fields to HubSpot contact properties:
- Email (required)
- First Name
- Last Name
- Phone Number
- Custom HubSpot Properties
You can map both default and custom fields for full data control.
Conditional Logic (Optional) #
You can choose to send data to HubSpot only when specific conditions are met.
Example:
- Only send contact data if the user selects “Yes” to a newsletter checkbox.
Enable Conditional Logic, set your rules, and save.
Testing the Integration #
- Submit a test entry through your form.
- Log in to HubSpot.
- Go to Contacts.
- Confirm the contact was created or updated successfully.
Supported Features #
- Real-time contact synchronization
- Custom field mapping
- Conditional logic support
- No-code setup
- Multiple form connections
- Secure API-based integration
Troubleshooting #
Contacts not syncing? #
- Ensure HubSpot is properly connected
- Confirm required fields (like email) are mapped
- Check conditional logic rules
- Reauthorize HubSpot if needed