In this article, we will try to explain the WPForms Form Locker Feature with the help of our Pro Addon called “Form Locker Pro Addon”.
How to use WPForms Form Locker Feature? – Step by Step Guide #
What’s Needed #
- Ensure that both WPForms Lite and Ultra Addons for WPForms are installed on your WordPress site.
- Since Form Locker is a pro feature, make sure you have a valid pro license for UAWPF. If you don’t have one yet, check pricing here.
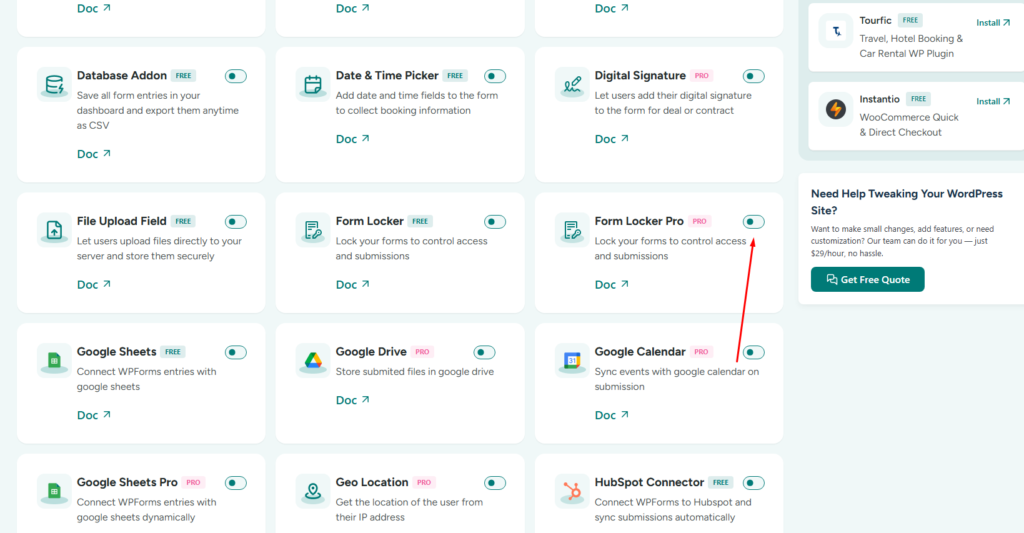
- Go to WPForms Addons > All Addons menu in your WordPress Dashboard and enable the Form Locker Pro and Form Locker Free Checkboxes.
- Ensure you’ve updated the Ultra Addons for WPForms to version 1.0.17 or higher and the Ultra Addons for WPForms Pro Plugin to version 1.0.6 or higher.
Step 1: Create or Edit your Desired Form #
First, you need to create/edit a WPForms form to use the Form Locker feature. We will go over how to enable Form Locker and configure settings later, but for now, you need a form to work with. To keep this tutorial simple, I will use a basic form as an example. You can modify it later according to your needs.
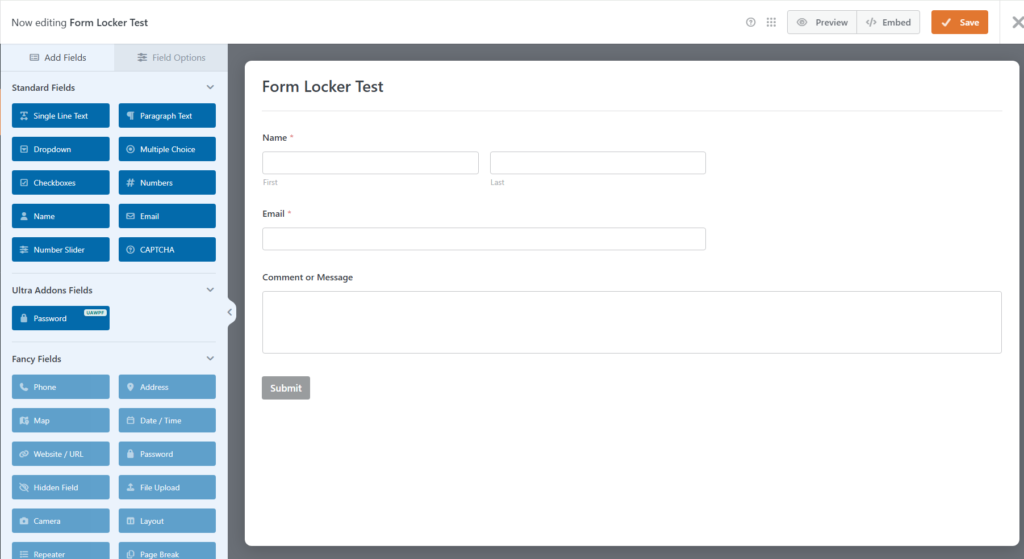
Step 2: Using the Form Locker Feature #
To enable the Form Locker functionality for your form, go to Settings > Form Locker.
Inside this section, you will find several options to control how and when users can access or submit the form. Let’s go through each option one by one.
Form Verification #
Using this option, you can add extra protection to your form and control who can access it.
After enabling the Form Verification toggle, you will see three verification type options:
- Password: The form will be unlocked only when the user enters the correct password.
- Age: This option restricts form access based on the user’s age. When the user enters an eligible age, the form becomes accessible.
- Email: A verification link will be sent to the user’s email address. Once the user verifies their email manually, the form will become accessible.

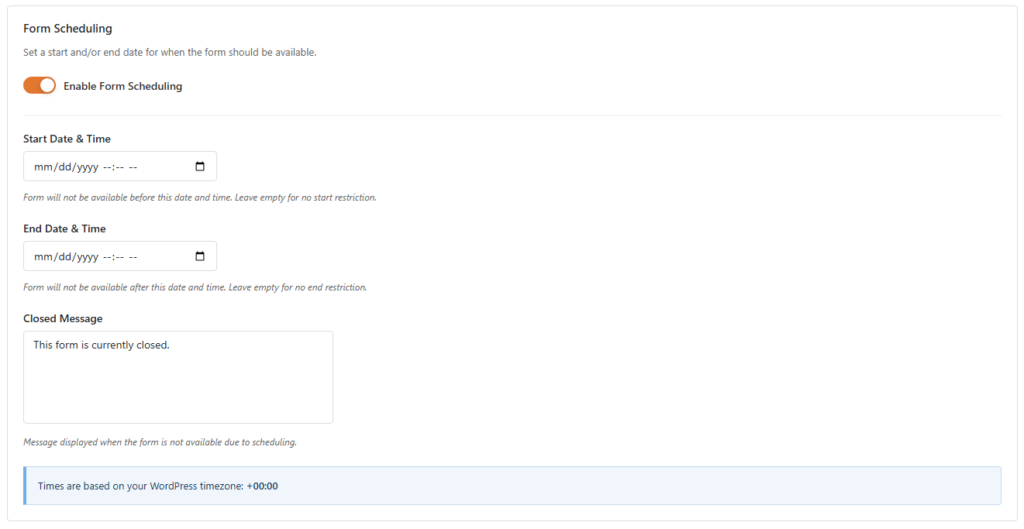
Form Scheduling #
Using this option, you can set a specific time period for when users can access and submit the form.
After enabling the Form Scheduling toggle, you will see the following options:
- Start Date & Time: Use this option to set when the form should become available. The form will be visible and accessible from the selected start date and time.
- End Date & Time: Use this option to set when the form should stop accepting submissions. Once the selected end date and time are reached, users will no longer be able to submit the form.
- Closed Message: Use this message box to add a custom message that users will see when the form is closed.
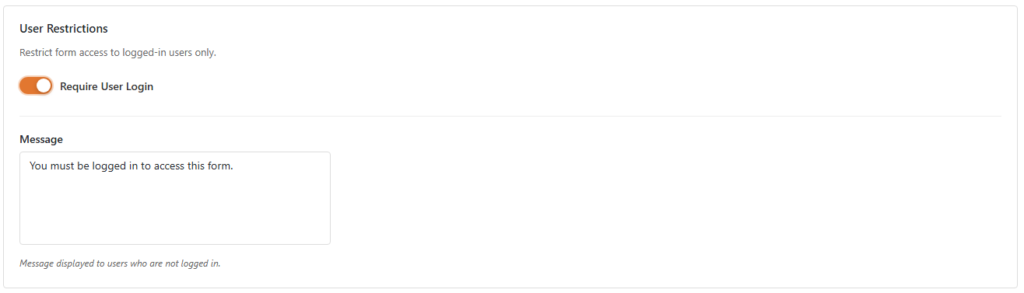
User Restrictions #
Another option in Form Locker is User Restrictions.
Using this option, you can restrict logged-out users from accessing the form. This ensures that only logged-in users can view and submit the form.
When this option is enabled, visitors who are not logged in will not be able to access the form until they sign in to their account.
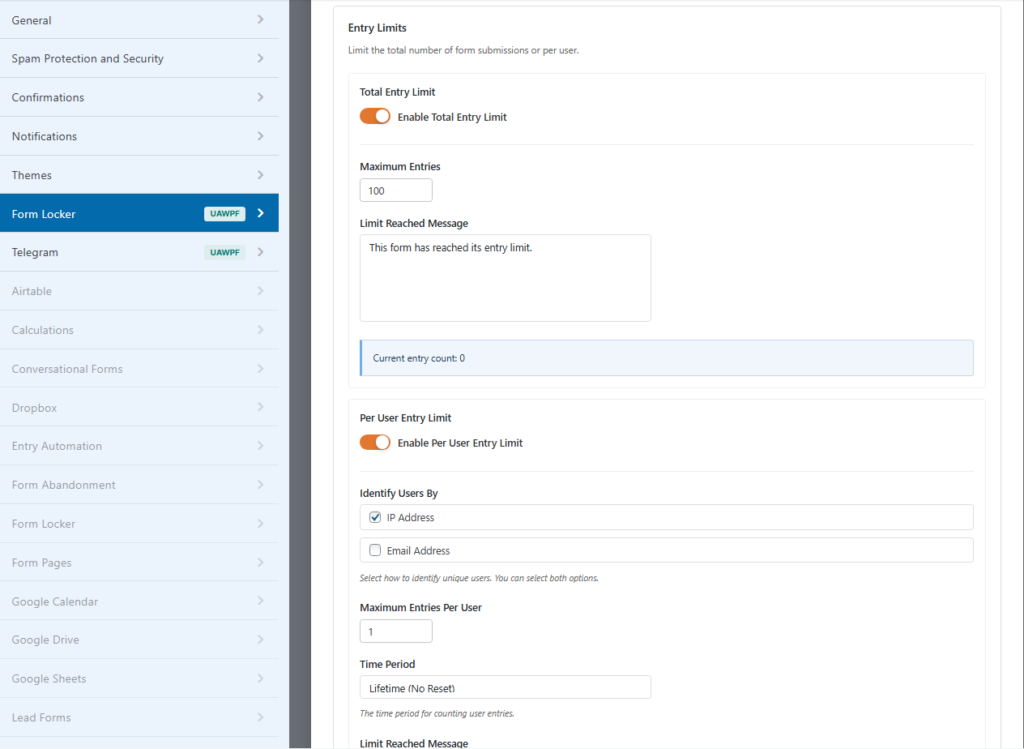
Entry Limits #
Using this option, you can set submission limits for your form based on the total number of entries or per user.
In this setting, you will find two options:
- Total Entry Limit:
After enabling this option, you can set a maximum submission limit for the form. Once the total entry limit is reached, the form will no longer be accessible to users. You can also add a custom unavailable message to let users know why the form is closed.
- Per User Entry Limit:
After enabling this option, you can set a submission limit for each user. This helps you control how many times a single user can submit the form.
Here, you will find the following options:
- Identify Users By: Use this option to identify users based on their IP address or email address.
- Maximum Entries Per User: Use this option to set the maximum number of times a user can submit the form.
- Time Period: Use this option to set the time period for counting user submissions. For example, you can limit submissions within a specific day, week, month, or custom time range.
Step 3: Testing the Form Settings #
After configuring all the settings, it’s time to test the form to ensure everything is working as expected. Fill out the form step by step, check if the fields are displaying correctly, and verify that the form locker flow is smooth. Also, confirm that the submission message and other messages work properly. If needed, go back and adjust the settings to refine the user experience.
Still Not Clear? Please contact us. If you are a free User, you can open a ticket from here. If you are a pro user, you can open a ticket from here.